How to Set Up Speed Dial on Akuvox X912, E18 and E16 Intercoms
Step-by-Step: Configure Speed Dial on Akuvox Door Intercoms
Setting up a speed dial allows users to quickly call a designated indoor monitor or unit at the press of a button. This is especially useful in single-dwelling setups where only one destination needs to be contacted. Follow the steps below to configure this feature through the device’s web interface.
Step 1: Access the Web Interface
- Use the Akuvox IP Scanner to find the device on the local network.
- Open a web browser and enter the device’s IP address.
-
Log in using your credentials:
– Default username: admin
– Default password: admin
(If these have been changed, use the updated login details.)
Step 2: Navigate to Key & Display Settings
- From the main menu, go to Settings > Key & Display.
- On some models, such as the E18 or E16, this may appear under Device > LCD.
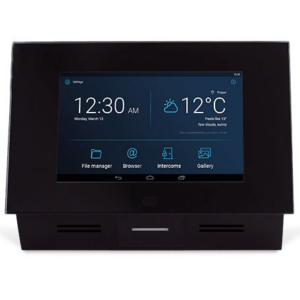
- You’ll now see the available physical or touchscreen button options for configuration.
Step 3: Reassign the Speed Dial Button
- Find the “Speed Dial” option – one of the default buttons alongside Call PIN and Call.
- Change the function from “Speed Dial” to “Call.”
- Use the dropdown menu to select the correct Cloud Name associated with your site (e.g. Example House).
- Click Submit to apply your changes.
Step 4: Test the Configuration
- Once saved, the device will display an updated button layout with a single tap call function. Pressing the button should now initiate a direct call to the assigned indoor monitor or user.
This setup helps simplify operation for smaller installations, offering a streamlined experience tailored to single-user or single-family use cases.
Need More Help?
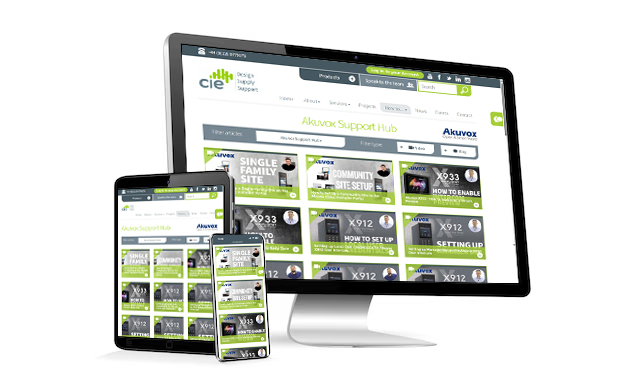
For additional tips and setup tutorials, visit the Akuvox Support Hub or contact the CIE Technical Support team.
Need further help? Visit the Akuvox Support Hub for additional videos and HowTo guides.