How to Set Up a Single-Family Site on the Akuvox Cloud Installer Portal
Setting up a single-family site in the Akuvox SmartPlus Cloud Installer Portal is a quick and simple process – provided you know where to start. In this step-by-step guide, we’ll walk you through the full setup process, including adding indoor monitors, intercoms, and family members.
Step 1: Add a New Single-Family Site
-
Log in to the Akuvox Cloud Installer Portal with your installer credentials.
-
From your dashboard, click “Add Single Family Site.”
-
Fill in the site name – this could be the property address, family name, or a custom reference.
-
Enter the client’s email and (optionally) mobile number so they can log into the SmartPlus app.
-
Add the site address – this allows accurate weather data on the indoor monitor.
-
Choose between:
-
SIP Call – for LTE intercoms like the R20K LTE or E18 LTE.
-
IP Call – if all devices are on the same local network.
-
Check and confirm:
-
Time zone (e.g. GMT London),
-
Language (default: English),
-
Time format (12 or 24-hour clock).
-
Optional: Enable Landline Calling (requires a Premium Plan).
-
Add the MAC address of the indoor monitor. Use the device name field to indicate location (e.g. “Hallway”).
-
Leave Relay 1/2 switched off unless you’re using monitor relays.
-
Click Submit. If you’re using video storage (e.g. X910 or Akubela range), click Next instead and enable additional features.
Step 2: Add Intercom or Other Devices
-
Click the device icon under “Actions” on your site listing.
-
Click New, then select your Device Type (e.g. single-tenant).
-
Enter the device’s MAC address—found on the box, back of the unit, or via IP scanner.
-
Set a clear Device Name (e.g. “Main Gate”).
-
Tick “Allow Users to Monitor Device” if needed.
-
Configure Relay settings (e.g. Relay 1 = “Gate Lock”) as needed.
-
Submit your changes.
-
After saving, reboot both devices. They’ll display as green (online) when successfully connected. If they remain grey, check network settings and firmware versions. Contact technical support if needed.
Step 3: Add Family Members
-
Scroll to the middle section of the site dashboard.
-
Click “Family Member” > “New” to add a second user.
-
Best practice: the main family account holder should add all additional users via the app to streamline admin.
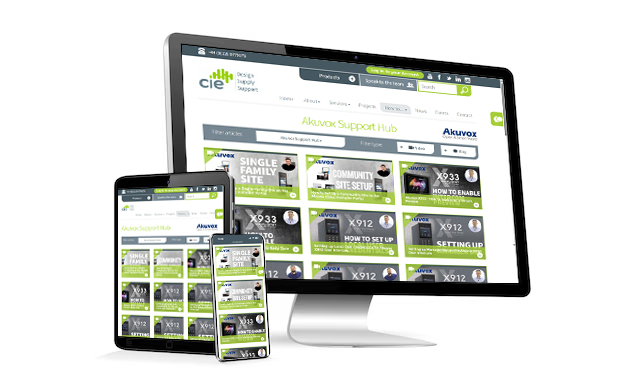
Need further help? Visit the Akuvox Support Hub for additional videos and HowTo guides.